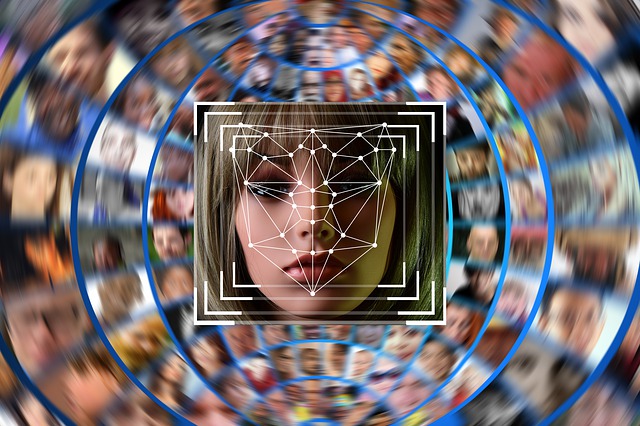
In recent years, the use of face masks has become a critical part of public health measures, especially during the COVID-19 pandemic. With advancements in machine learning and computer vision, creating a real-time face mask detection system has become not only feasible but also highly practical. Such systems can be used in public spaces, workplaces, and healthcare facilities to ensure compliance with mask-wearing mandates.
In this article, we’ll walk through the steps to build a real-time face mask detection system using Python, leveraging libraries like TensorFlow, OpenCV, and Keras. By the end of this guide, you’ll have a working knowledge of how to set up a face mask detection pipeline and integrate it into a real-time application.
Prerequisites for Building the System
Before diving into the code, ensure that you have the following prerequisites in place:
- Python Environment: Install Python 3.7 or later.
- Required Libraries: Install TensorFlow, Keras, OpenCV, NumPy, and Matplotlib. You can install them using pip:
pip install tensorflow keras opencv-python numpy matplotlib - Dataset: Obtain a labeled dataset with images of people wearing masks and not wearing masks. A popular dataset for this purpose is the “Face Mask Detection Dataset” available on Kaggle.

Step 1: Understanding the Workflow
The face mask detection system involves three primary steps:
- –Face Detection: Identify and locate faces in an image or video stream.
- Mask Classification: Classify whether a detected face is wearing a mask or not.
- Real-Time Integration: Process the video feed from a webcam and overlay detection results.
Step 2: Loading and Preprocessing the Dataset
The dataset should contain two classes: mask and no_mask. Begin by preprocessing the data for training.
Import Libraries
import os
import numpy as np
from tensorflow.keras.preprocessing.image import ImageDataGenerator
from tensorflow.keras.utils import to_categorical
from sklearn.model_selection import train_test_split
Load and Prepare Data
Organize your dataset into separate folders for mask and no_mask. Then, load the images and preprocess them:
def load_data(data_dir):
    categories = ["mask", "no_mask"]
    data = []
    labels = []

    for category in categories:
        path = os.path.join(data_dir, category)
        label = categories.index(category)
        for img in os.listdir(path):
            img_path = os.path.join(path, img)
            try:
                img_array = cv2.imread(img_path, cv2.IMREAD_COLOR)
                resized_array = cv2.resize(img_array, (128, 128))
                data.append(resized_array)
                labels.append(label)
            except Exception as e:
                print(f"Error loading image {img_path}: {e}")
    return np.array(data), np.array(labels)

data, labels = load_data("dataset_directory")
data = data / 255.0  # Normalize pixel values
labels = to_categorical(labels)
Split the dataset into training and testing sets:
X_train, X_test, y_train, y_test = train_test_split(data, labels, test_size=0.2, random_state=42)
Step 3: Building the Face Mask Detection Model
Now, construct a convolutional neural network (CNN) for the classification task.
Create the Model
from tensorflow.keras.models import Sequential
from tensorflow.keras.layers import Conv2D, MaxPooling2D, Flatten, Dense, Dropout

model = Sequential([
    Conv2D(32, (3, 3), activation='relu', input_shape=(128, 128, 3)),
    MaxPooling2D((2, 2)),
    Conv2D(64, (3, 3), activation='relu'),
    MaxPooling2D((2, 2)),
    Conv2D(128, (3, 3), activation='relu'),
    MaxPooling2D((2, 2)),
    Flatten(),
    Dense(128, activation='relu'),
    Dropout(0.5),
    Dense(2, activation='softmax')  # Two classes: mask and no_mask
])
Compile the Model
model.compile(optimizer='adam', loss='categorical_crossentropy', metrics=['accuracy'])
Train the Model
history = model.fit(X_train, y_train, epochs=10, validation_data=(X_test, y_test), batch_size=32)
Save the trained model for future use:
model.save("mask_detector_model.h5")
Step 4: Integrating Real-Time Detection
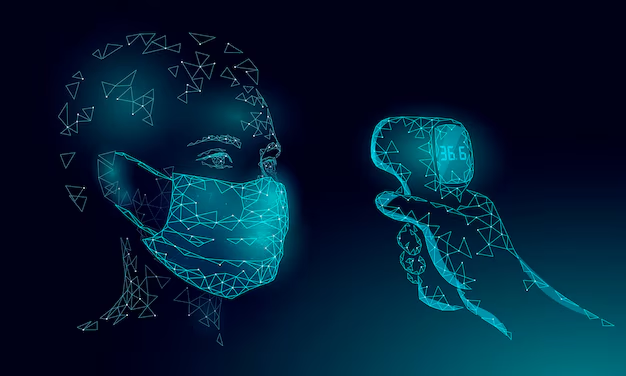
Real-time face mask detection requires integrating the trained model with a webcam feed using OpenCV.
Load the Model and Initialize OpenCV
from tensorflow.keras.models import load_model
import cv2

model = load_model("mask_detector_model.h5")
face_cascade = cv2.CascadeClassifier(cv2.data.haarcascades + "haarcascade_frontalface_default.xml")
Process Webcam Feed
cap = cv2.VideoCapture(0)

while True:
    ret, frame = cap.read()
    gray = cv2.cvtColor(frame, cv2.COLOR_BGR2GRAY)
    faces = face_cascade.detectMultiScale(gray, scaleFactor=1.1, minNeighbors=5)

    for (x, y, w, h) in faces:
        face = frame[y:y+h, x:x+w]
        resized_face = cv2.resize(face, (128, 128)) / 255.0
        reshaped_face = np.reshape(resized_face, (1, 128, 128, 3))

        prediction = model.predict(reshaped_face)
        label = np.argmax(prediction)
        confidence = np.max(prediction)

        label_text = "Mask" if label == 0 else "No Mask"
        color = (0, 255, 0) if label == 0 else (0, 0, 255)

        cv2.rectangle(frame, (x, y), (x+w, y+h), color, 2)
        cv2.putText(frame, f"{label_text} ({confidence:.2f})", (x, y-10), cv2.FONT_HERSHEY_SIMPLEX, 0.8, color, 2)

    cv2.imshow("Mask Detection", frame)

    if cv2.waitKey(1) & 0xFF == ord('q'):
        break

cap.release()
cv2.destroyAllWindows()
Step 5: Optimizing and Deploying the System
Once you have a working system, consider these optimizations for better performance:
- Use a Pre-Trained Model: Leverage transfer learning with models like MobileNetV2 for higher accuracy.
- Hardware Acceleration: Use GPUs or TPU for real-time processing at scale.
- Deploy on Edge Devices: Integrate the system into Raspberry Pi or NVIDIA Jetson Nano for on-site monitoring.
Applications of Real-Time Face Mask Detection
- Public Spaces: Monitor mask compliance in malls, airports, and train stations.
- Workplaces: Ensure employee safety in offices and factories.
- Healthcare: Assist in managing mask adherence in hospitals and clinics.
Conclusion
Building a real-time face mask detection system in Python is a powerful way to blend technology with public health initiatives. By following the steps above, you can create a system that identifies mask compliance with accuracy and efficiency. This project not only showcases the capabilities of machine learning and computer vision but also addresses a real-world problem with significant societal impact.
So, roll up your sleeves, fire up your Python IDE, and get started on creating your own real-time face mask detection system today!
FAQs
1. Do I need a GPU for this project?
While a GPU is not mandatory, it significantly speeds up training and real-time detection.
2. Can I use this system with a different dataset?
Yes, you can train the model on any dataset as long as it is labeled for mask and no-mask classes.
3. How accurate is this system?
The accuracy depends on the quality of the dataset and the model used. Incorporating pre-trained models can improve performance.
4. Can this system detect masks in group photos?
Yes, but detection in group scenarios may require additional fine-tuning to handle overlapping faces.
5. Is this project scalable for large environments?
For large-scale deployment, consider using cloud services or edge devices to handle multiple cameras simultaneously.
