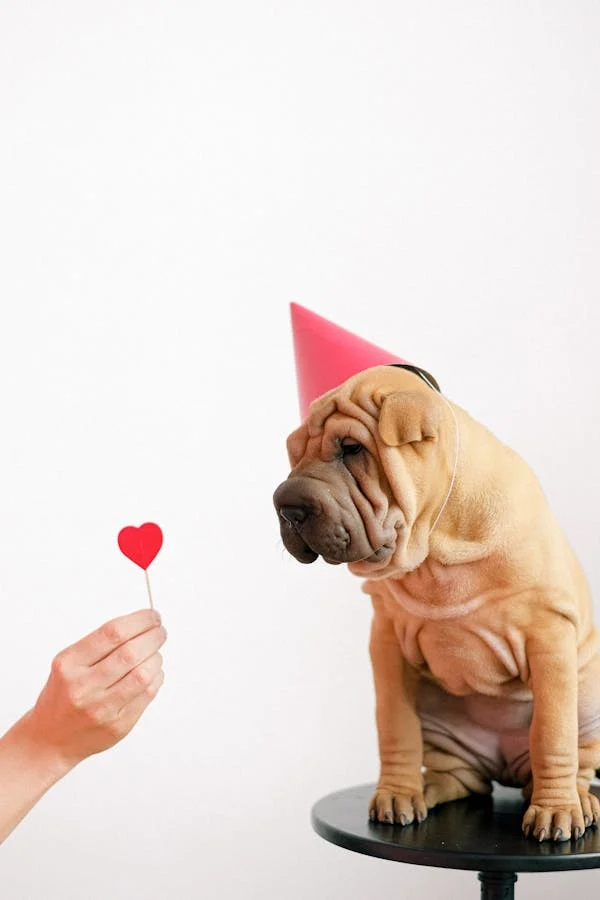
In today’s digital world, pet product photography plays a significant role in showcasing products in a way that grabs attention and creates an emotional connection with customers. High-quality pet photos can help build brand trust and inspire pet owners to make purchases. This guide dives into everything you need to know to create captivating pet product images, from equipment and techniques to editing and trends.
Why Pet Product Photography Is Important
Whether you’re an independent seller or a large retailer, quality pet product photography is essential. Beautiful, detailed images help customers understand what a product looks like and can spark a desire to buy. Engaging photos reflect the love pet owners have for their furry friends, making them more likely to choose products that stand out visually.
Benefits of High-Quality Pet Product Images for Businesses
High-quality pet photos can help increase engagement on social media, improve website conversions, and build brand loyalty. Pet lovers are more likely to share adorable pet photos, which can broaden your reach and enhance brand recognition.
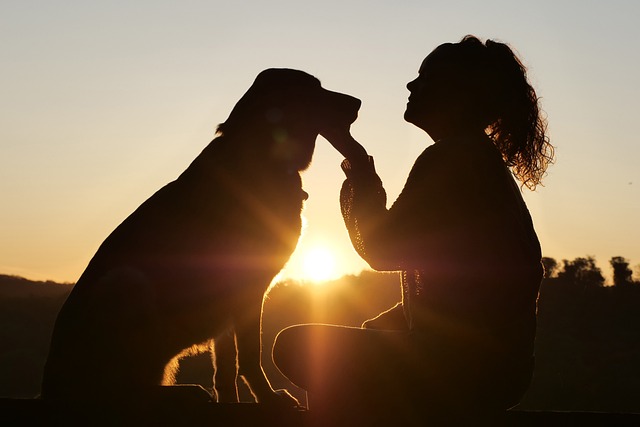
Essential Equipment for Pet Product Photography
Achieving professional-quality photos starts with the right equipment. Here’s what you’ll need:
Camera Options
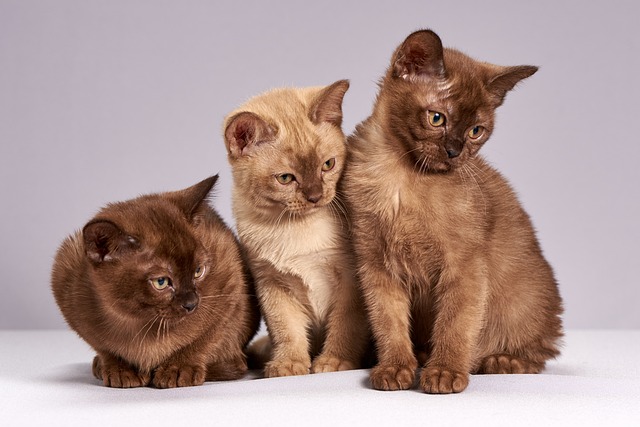
A DSLR or mirrorless camera is ideal for pet product photography, providing manual controls and high resolution. However, many modern smartphones now have impressive camera capabilities, making them a viable alternative for smaller budgets.
Lighting Equipment
Lighting can make or break your photos. Consider using soft, diffused light for pet photography, which is more flattering and reduces harsh shadows.
Natural Light vs. Studio Light
Natural light is excellent for a soft and warm look, especially if you have a well-lit room with large windows. For more control, studio lights and softboxes provide consistency and allow shooting in any condition.
Reflectors and Diffusers
Reflectors help fill in shadows, while diffusers soften harsh light. These tools are affordable yet powerful additions that can elevate your shots by creating a balanced look.
Lenses and Accessories
Prime lenses with a wide aperture (like f/1.8) are ideal for achieving that beautiful background blur. Consider a macro lens for close-up shots of small products like pet collars or tags.
Preparing for a Pet Product Photoshoot
Preparation is key to a successful shoot. Here’s how to get ready:
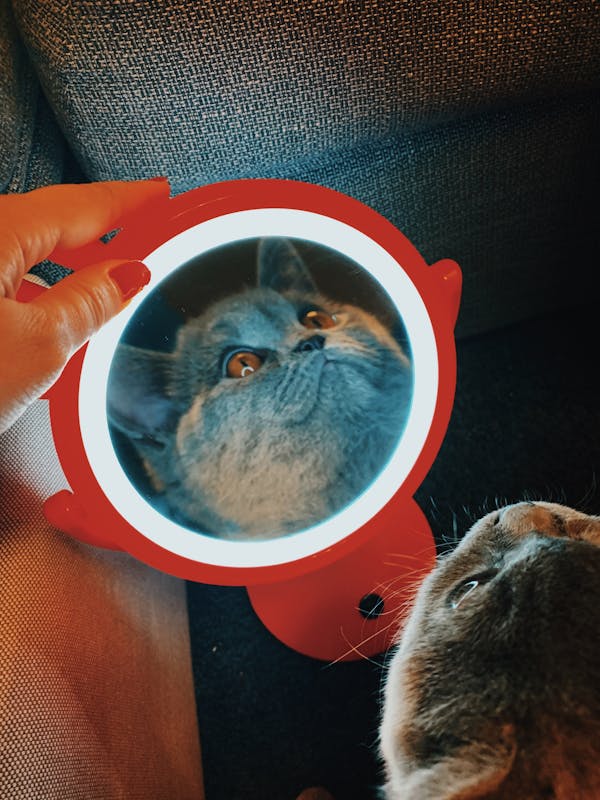
Setting the Scene
Create a comfortable and inviting space for the pet, free from clutter. Use soft blankets, toys, or pillows that complement the product and won’t distract from it.
Choosing Backgrounds and Props
Simple backgrounds are best for pet product photography, as they keep the focus on the product. Neutral colors or subtle textures work well, while props like toys or food bowls can add context without overwhelming the image.
Grooming and Preparing the Pet Models
Ensure the pets are clean and well-groomed for the shoot. A happy, calm pet makes for better photos, so consider giving them breaks and using treats to keep them motivated.
Techniques for High-Quality Pet Product Photography
Capturing the personality of both the pet and the product is essential. Use these techniques to bring out the best in each shot.
Capturing Pet Personality
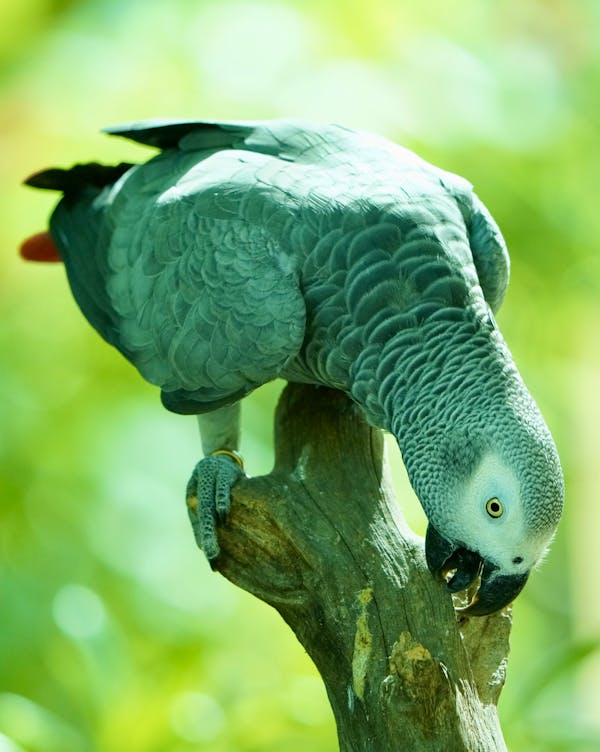
A great pet product photo captures the animal’s charm and character, making it more appealing to potential customers.
Techniques for Candid Shots
Let the pet act naturally and capture spontaneous moments. Candid shots feel authentic and can highlight how a product fits into the pet’s lifestyle.
Using Treats and Toys

Using treats and toys can help engage the pet and bring out playful, happy expressions. They can also serve as props that add personality to the image.
Focusing on the Product
While the pet is often the star, remember to emphasize the product. Highlighting its details and quality is crucial.
Highlighting Product Features
Get close-up shots of unique product details, such as textures, materials, or designs, to give customers a clear view of what they’re purchasing.
Creating Product-Centered Shots
Position the product in the foreground, with the pet in the background. This composition showcases the product’s size and appearance, while the pet adds charm to the image.
Editing Pet Product Photos
Post-processing can bring out the best in your photos. Here are some basic editing tips:
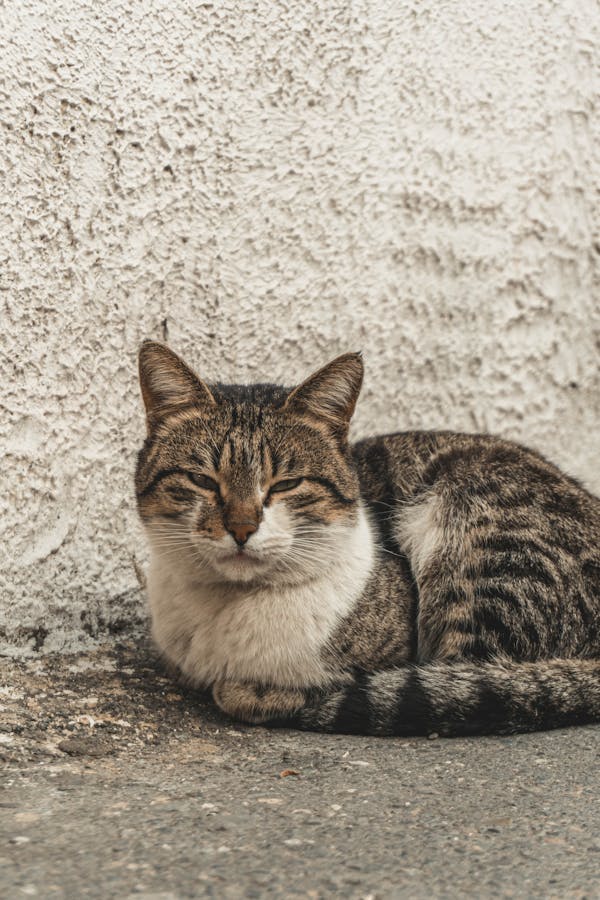
Essential Editing Tools
Use software like Adobe Lightroom or Photoshop for professional-quality edits. These tools allow you to fine-tune colors, contrast, and clarity.
Adjusting Brightness and Contrast
Enhance brightness and contrast to make colors pop and give the product a more polished look.
Removing Distractions and Enhancing Colors
Remove any unwanted objects or blemishes in the photo, and adjust colors to make the product look as appealing as possible.
Using Filters and Special Effects
A subtle filter can unify a series of photos or add warmth. Avoid over-editing, though, as it can distract from the product.
Cropping and Sizing for Various Platforms
Different platforms require different dimensions, so crop your photos accordingly. Square photos work well on social media, while landscape orientation may be better for websites.
Best Practices for Pet Product Photography
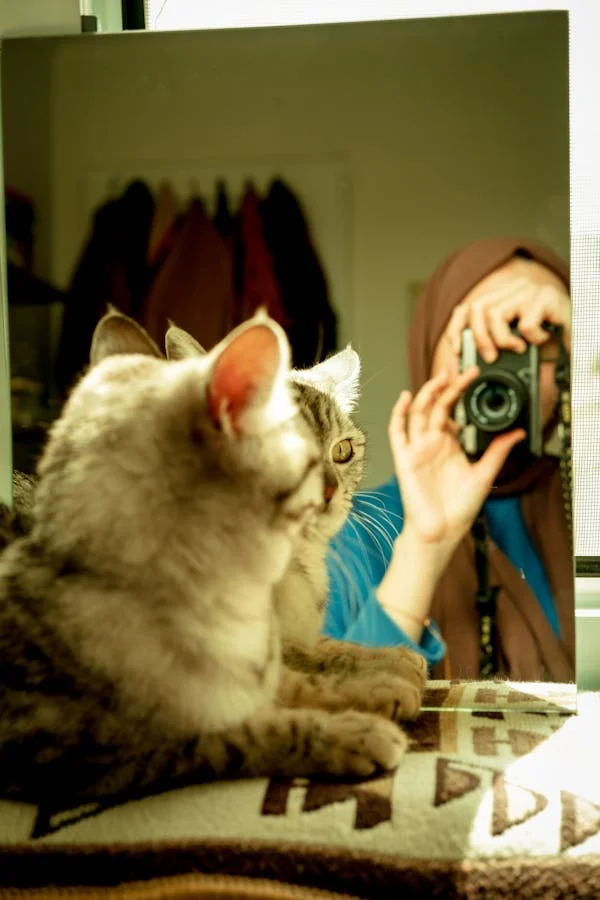
Ensuring the pets are comfortable and capturing the essence of the product requires a thoughtful approach.
Ensuring Pet Comfort and Safety
Pet safety should always come first. Avoid any setups that could stress or harm the animal, and keep breaks frequent to maintain a calm atmosphere.
Timing Your Shoot for Optimal Results
Plan shoots when pets are naturally more relaxed, such as after a meal or a walk. Good timing can make the pet more cooperative and reduce stress.
Working with Animal-Friendly Props
Use pet-safe props that align with the product’s purpose. Toys, bedding, and bowls are generally safe and relevant to the pet product theme.
Common Mistakes to Avoid in Pet Product Photography
Here are a few pitfalls to watch out for:
Overcomplicating the Scene
Avoid using too many props or busy backgrounds. Simplicity allows the product to shine and keeps the pet as a natural complement to the shot.
Neglecting Lighting Quality
Poor lighting can ruin a photo. Always check your lighting setup to ensure your images look professional and appealing.
Relying Too Heavily on Editing
While editing is useful, avoid relying on it to fix poorly shot photos. Good lighting, composition, and focus will minimize the need for excessive editing.
Trends in Pet Product Photography
Pet photography is constantly evolving, with new styles and trends emerging.
Natural and Minimalist Styles
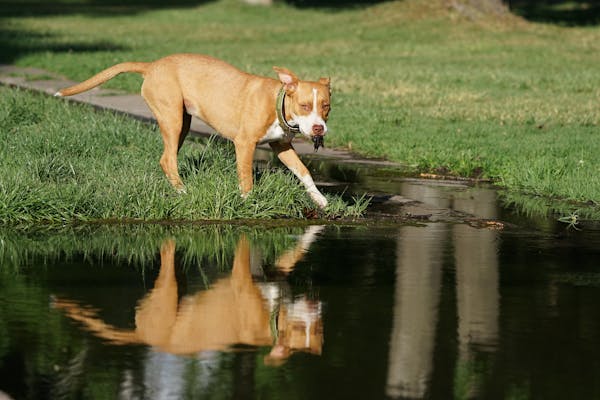
Many brands are leaning towards minimalist photos that focus on simplicity and a natural look, aligning with eco-friendly values.
Pet Portraits with Products
Close-up pet portraits, combined with product placement, are popular for creating emotional connections with pet owners.
Using Video and Motion for Pet Products
Videos and GIFs add a dynamic element, making it easier to show a product in use. It’s especially popular on social media platforms like Instagram and TikTok.
Conclusion
Pet product photography is a blend of creativity, technical skill, and an understanding of animal behavior. By using the right equipment, focusing on simplicity, and keeping the pet’s comfort in mind, you can create stunning images that resonate with pet owners and drive sales. As trends evolve, embracing a flexible approach will keep your photos fresh and engaging, helping your brand stand out in the pet market.
FAQs
1. What camera settings are best for pet product photography?
For clear, sharp images, use a high shutter speed, a wide aperture for blurred backgrounds, and adjust ISO based on lighting.
2. How can I make my pet product photos stand out?
Focus on simplicity, use high-quality lighting, and capture the pet’s natural personality to create engaging photos.
3. Is natural light or studio light better for photographing pet products?
Both are effective; natural light offers a soft, organic look, while studio lighting gives you control in any setting.
4. What’s the most challenging part of pet product photography?
Working with pets can be unpredictable, so keeping them calm and engaged can be challenging but rewarding.
5. Can I use my smartphone for pet product photography?
Yes, many smartphones have excellent cameras, but for professional quality, consider additional lenses and lighting.

